Input Data Files

- Load Model and Results
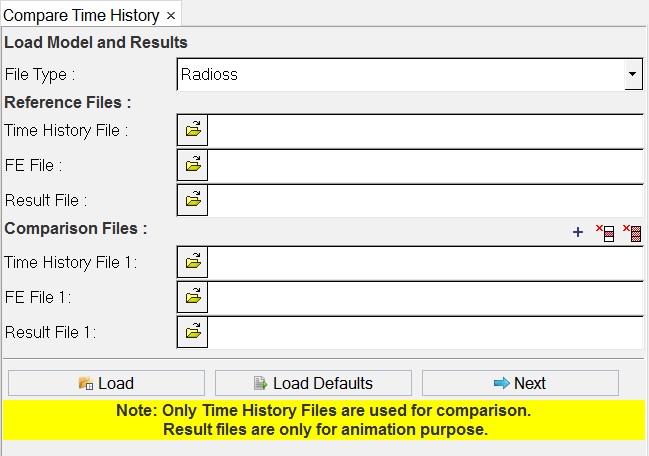
- The diagnostic tool supports two solvers, Radioss and LS-DYNA. From the File Type drop-down list, select the type of solver files to be compared.
- Reference Files
- From this section, select the plot file (Time History File), FE (model) File and Result File. The plot file is mandatory.
- Comparison Files
- From this section, select the plot file (Time History File) and Result File. The plot file is mandatory.

- Click the add button to add more than one set of comparison files (time history and result files).

- To delete a single set of comparison files, activate the check box for the set of files you want to remove and click the single delete button.

- To delete all comparison file entries from the GUI, activate the check boxes for all comparison file sets and click the delete all button.

- After selecting the input files, click Load. A page is added to the session and three windows are created on the same page.

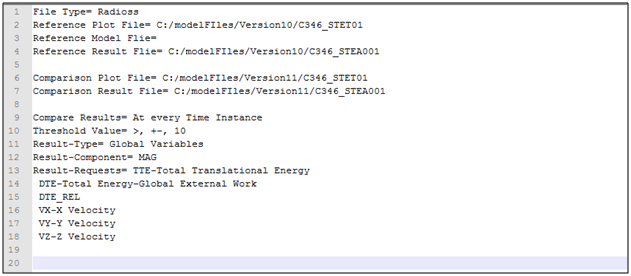
- Click Load Defaults to select the model compare default (*.def) files.
- Next
- Click Next to go to the page tool of the Compare Time History tool.
- Close
- Click Close to close the tool.

