ACU-T: 5401 Piezoelectric Flow Energy Harvester - PFSI & IMM
This tutorial provides the instructions for setting up, solving and viewing results for a simulation of a piezoelectric fluid harvester. In this simulation, a piezoelectric flow harvester is placed in a fluid flow channel. The harvester is attached to a cylinder mount which also acts as a bluff body causing vortices in the fluid flow. The interaction between the pressure fields generated by the vortices and the flow harvester structure is simulated in this tutorial. Interpolated mesh motion approach is used to compute the mesh deformation in the fluid domain as it interacts with the deforming structure.
- Fluid-structure interaction using the interpolated mesh motion (IMM)
- Use of the Eigenmode Manager for transferring structural data onto CFD mesh
- Analyze the problem
- Start AcuConsole and create a simulation database
- Set general problem parameters
- Set solution strategy parameters
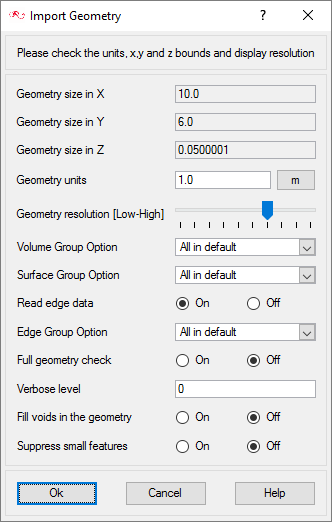
- Import the geometry for the simulation
- Create a volume group and apply volume parameters
- Create surface groups and apply surface parameters
- Set global and local meshing parameters
- Generate the mesh
- Import and transfer structural data onto the CFD mesh
- Set up the fluid-structure interaction simulation using IMM
- Set the appropriate boundary conditions
- Run AcuSolve
- Monitor the solution with AcuProbe
- Post processing the nodal output with AcuFieldView
Prerequisites
You should have already run through the introductory tutorial, ACU-T: 2000 Turbulent Flow in a Mixing Elbow. It is assumed that you have some familiarity with AcuConsole, AcuSolve, and AcuFieldView. You will also need access to a licensed version of AcuSolve.
Prior to running through this tutorial, copy AcuConsole_tutorial_inputs.zip from <Altair_installation_directory>\hwcfdsolvers\acusolve\win64\model_files\tutorials\AcuSolve to a local directory. Extract the files fluid.x_t and beam_modal.op2 from AcuConsole_tutorial_inputs.zip. The file fluid.x_t stores the geometry information for the fluid portion of the model for this problem, and the file beam_modal.op2 stores the output data from the structural solver which will be projected on to the CFD mesh that will be generated in the course of the tutorial.
The color of objects shown in the modeling window in this tutorial and those displayed on your screen may differ. The default color scheme in AcuConsole is "random," in which colors are randomly assigned to groups as they are created. In addition, this tutorial was developed on Windows. If you are running this tutorial on a different operating system, you may notice a slight difference between the images displayed on your screen and the images shown in the tutorial.
Analyze the Problem
An important step in any CFD simulation is to examine the engineering problem at hand and determine the important parameters that need to be provided to AcuSolve.
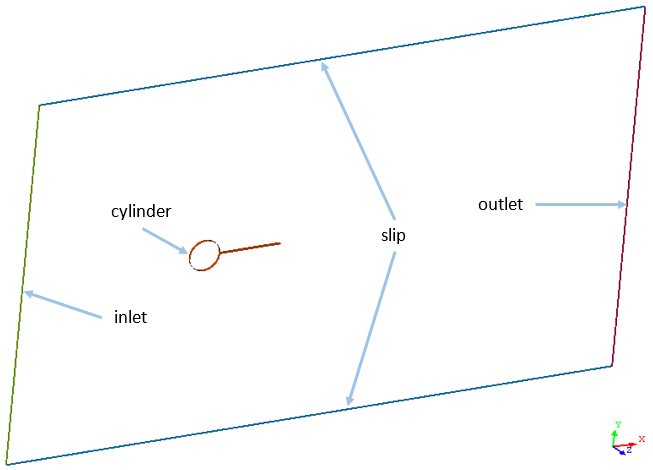
Figure 1 shows a CFD model consisting of a cantilever beam and a rigid cylindrical body. The cylindrical body produces vortex shedding in the flow downstream, inducing alternating asymmetric pressure distribution on either side of the beam. Such an alternating pressure distribution results in a sustainable oscillating vibration in the beam.
This model is a simplified model of a piezoelectric flow energy harvester.

Figure 1. Schematic of the Problem

Figure 2. The Beam with its Various Layers
Fluid Structure Interaction (FSI) is the interaction between a fluid flow and a deformable solid structure in contact with the flow. There are two FSI approaches: Practical Fluid/Structure Interaction (P-FSI) and Direct-Coupling Fluid/Structure Interaction (DC-FSI). Details about these approaches can be found in ACU-T: 5400 Piezoelectric Flow Energy Harvester: A Fluid-Structure Interaction (P-FSI).
The P-FSI approach requires eigenvalues of the OptiStruct structural model. It is then mapped to the AcuSolve CFD model in order to compute the structural deformation in response to the vortex shedding (fluid force) on the beam. The computation of the structural deformation will be made using the Interpolated Mesh Motion (IMM) rather than using the Arbitrary Lagrangian Eulerian (ALE).

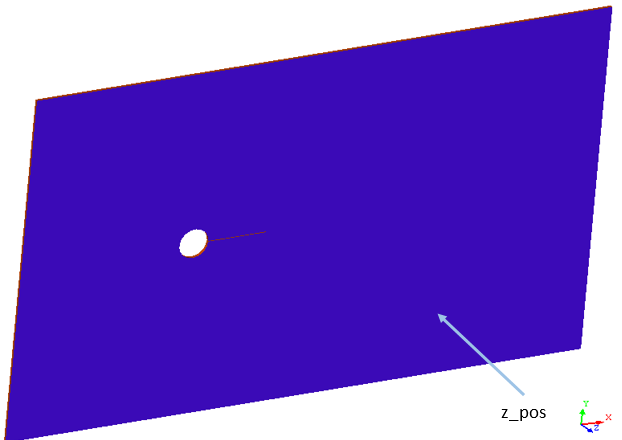
Figure 3. The Interpolated Motion Surfaces of the Model
In this tutorial, the simulation is performed using the interpolated mesh motion approach.
Define the Simulation Parameters
Start AcuConsole and Create the Simulation Database
In this tutorial, you will begin by creating a database, populating the geometry-independent settings, loading the geometry, creating volume and surface groups, setting group parameters, adding geometry components to groups, and assigning mesh controls and boundary conditions to the groups. Next you will generate a mesh and run AcuSolve to solve for the number of time steps specified. Finally, you will visualize some characteristics of the results using AcuFieldView.
In the next steps you will start AcuConsole, and create the database for storage of the simulation settings.
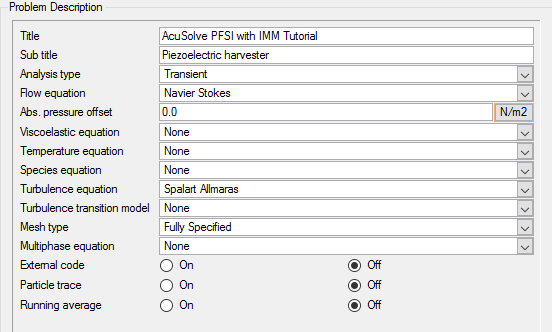
Set General Simulation Parameters
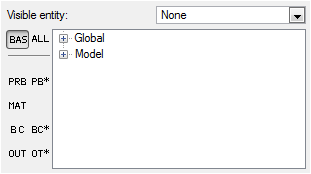
In the next steps you will set attributes that apply globally to the simulation. To simplify this task, you will use the BAS filter in the Data Tree Manager. The BAS filter limits the options in the Data Tree to show only the basic settings.
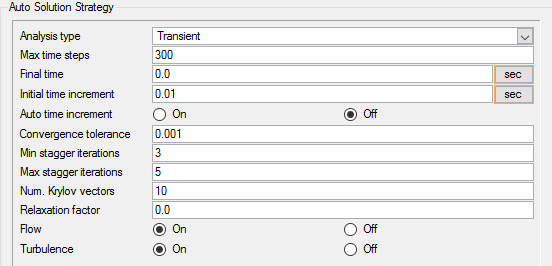
Set Solution Strategy Parameters
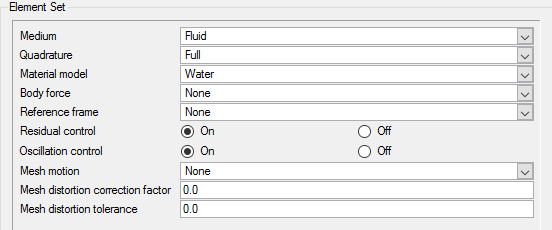
Set Material Model Parameters
The remaining thermal and other material properties are not critical to this simulation. However, you may browse through the tabs to check the complete material specification.
Import the Geometry and Define the Model
Import the Geometry
Apply Volume Attributes
Volume groups are containers used for storing information about a volume region. This information includes solution and meshing parameters applied to the volume and the geometric regions that these settings are applied to.
When the geometry was imported into AcuConsole, all volumes were placed into the "default" volume container.
Since the model for this tutorial has only a single volume, it will be the only volume in the default volume group when the geometry is imported. Even when there is a single volume in the model, it is advisable to rename the volume for ease of identification in future. In the next steps you will rename the default volume group container, and set the material and other properties for it.
Create Surface Groups and Apply Surface Parameters
Surface groups are containers used for storing information about a surface, including solution and meshing parameters, and the corresponding surface in the geometry that the parameters will apply to.
In the next steps you will define surface groups, assign the appropriate settings for the different characteristics of the problem, and add surfaces to the group containers.
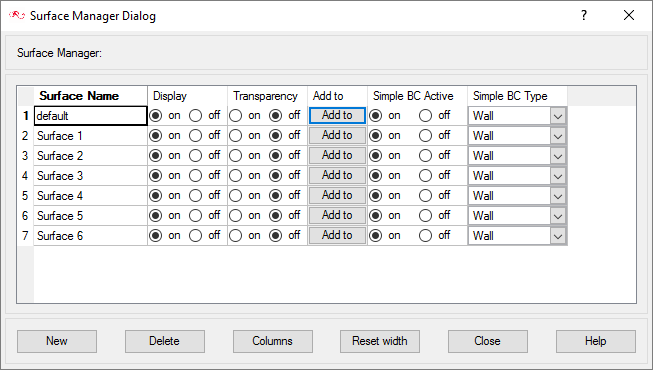
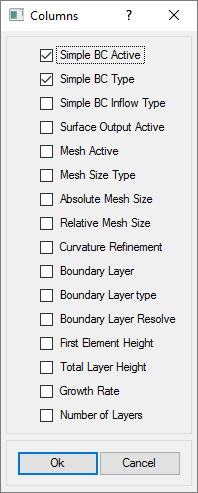
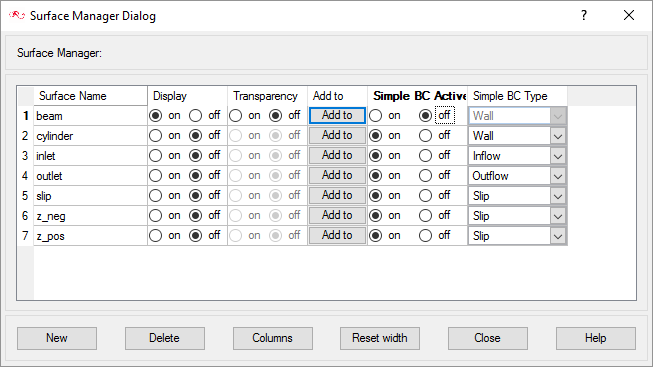
In the process of setting up a simulation, you need to move into different panels for setting up the boundary conditions, mesh parameters, and so on, which can sometimes be cumbersome, especially for models with too many surfaces. To make it easier, less error prone, and to save time, two new dialogs are provided in AcuConsole. Use the Volume Manager and Surface Manager to verify and provide the information for all surface or volume entities at once. In this section some features of Surface Manager are exploited.
When the geometry was loaded into AcuConsole, all geometry surfaces were placed in the default surface group container. This default surface group was renamed to beam in the Surface Manager. In the previous steps, you assigned some surfaces to various other surface groups that you created. At this point, all that is left in the beam surface group are the surfaces that make up the contact boundary between the fluid volume and the beam.
Create a Force Ramp Multiplier Function
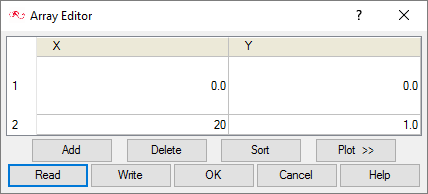
The force acting on the beam due to the flow will be ramped gradually over the first few time steps. After these first few time steps the force on the beam will remain constant. This will be achieved using a multiplier function. In the next few steps you will create a linear multiplier function which will later be assigned as a force multiplier function for load acting on the beam.
Create a Flexible Body
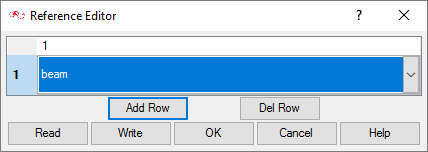
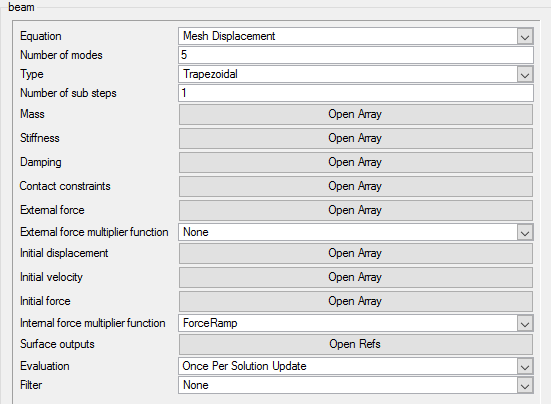
In the introductory discussion of this tutorial, it was mentioned that FSI is the interaction between a fluid and a deformable, or in other words, flexible solid body. In AcuConsole, such a solid body is defined using the Flexible Body command. In P-FSI, the structure is reduced in the modal space. The Flexible Body definition includes the specification of mass, stiffness and damping matrices of the body. The mass matrix is usually normalized to I (unity matrix), and stiffness matrix k is a diagonal matrix where the diagonal entries each represent an Eigen value. The surface outputs list refers to the surfaces outputs which are used to calculate the forces and moments on the solid body.
Set Surface Boundary Conditions
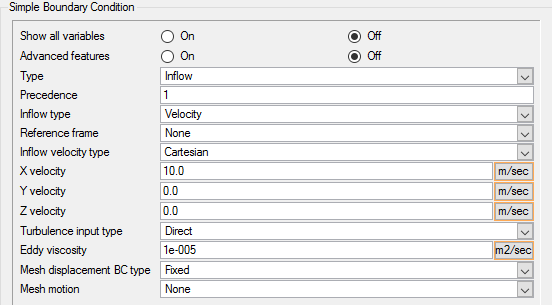
Set Parameters for the Inlet
Set Parameters for the z_neg and z_pos Surfaces
Set Parameters for the Slip Surface
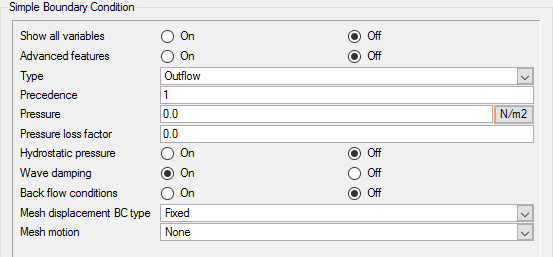
Set Parameters for the Outlet Surface
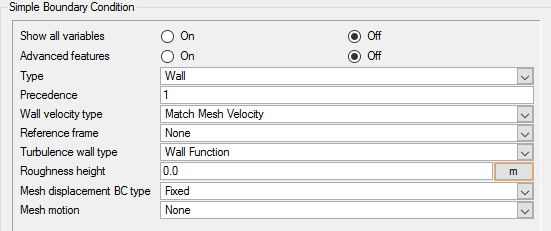
Set Parameters for the Cylinder Surface
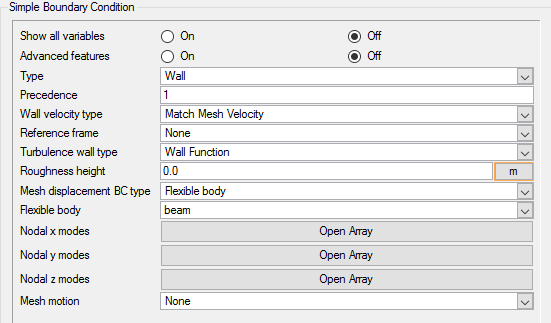
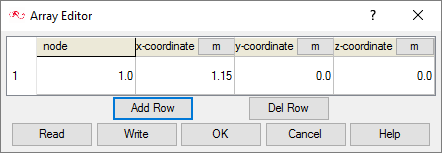
Set Parameters for the Beam Surface
Define Nodal Outputs
The nodal output command specifies the nodal output parameters, for instance, output frequency, number of saved states etc.
Create Time History Output Points
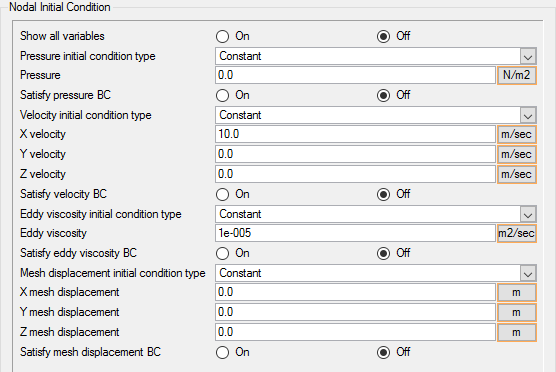
Set Initial Conditions
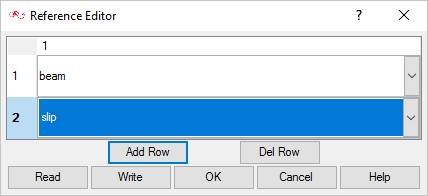
Assign the Interpolated Motion Surfaces
In this step you will assign the appropriate surfaces as Interpolated mesh motion surfaces so that the mesh bounded by these surfaces will be interpolated based on the motion of these interpolated mesh motion surfaces.
Create Mesh Motion with Interpolated Motion Surfaces
In the next steps you will define the mesh motion based on the Interpolated surfaces defined in the above step.
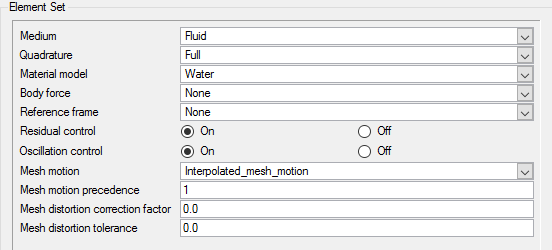
Assign Mesh Motion to the Fluid
In this step you will assign the appropriate surfaces as Interpolated mesh motion surfaces so that the mesh bounded by these surfaces will be interpolated based on the motion of these interpolated mesh motion surfaces.
Assign Mesh Controls
Set Global Mesh Parameters
Global mesh attributes are the meshing parameters applied to the model as a whole without reference to a specific geometric volume, surface, edge, or point. Local mesh attributes are used to create mesh generation controls for specific geometry components of the model.
In the next steps you will set the global mesh attributes.
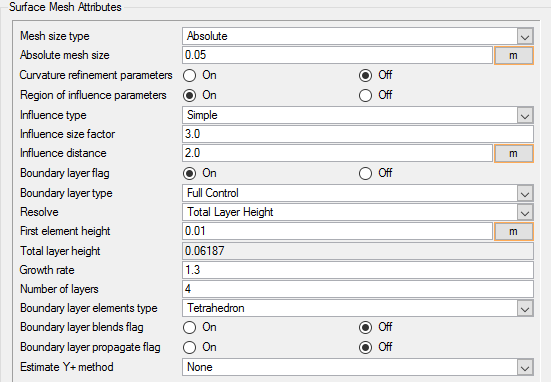
Set Surface Mesh Parameters
Surface mesh attributes are applied to a specific surface in the model. It is a type of local meshing parameter used to create targeted mesh controls for one or more specific surfaces.
Setting local mesh attributes, such as surface mesh attributes, is not mandatory. When a local mesh attribute is not found for a component, the global attributes are used as the mesh generation control for that component. If a local mesh attribute is present, it will take precedence over the global setting.
In the next steps you will set the surface meshing attributes.
Region of influence is a size control that allows you to control the size and growth rate of the surface and volume mesh surrounding a surface based on the distance from the surface.
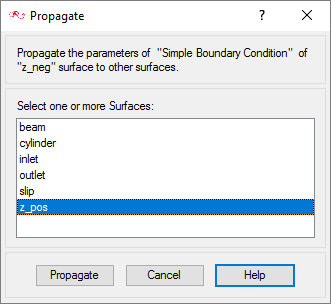
Instead of repeating the above steps for the beam surface group, you can propagate the mesh attribute settings for cylinder surface group to beam surface group.
Define Mesh Extrusion
The present simulation is equivalent to a representation of a 2D cross section of the model. In AcuSolve, 2D models are simulated by having just one element across the faces of the cross section. When these faces are set up with a similar boundary condition it coerces the corresponding nodes across the faces to have the same results. In this problem these faces are the negative and positive z-surfaces. This kind of mesh is achieved in AcuSolve with mesh extrusion process. In the following steps, the process of extrusion of the mesh between these surfaces is defined.
Generate the Mesh
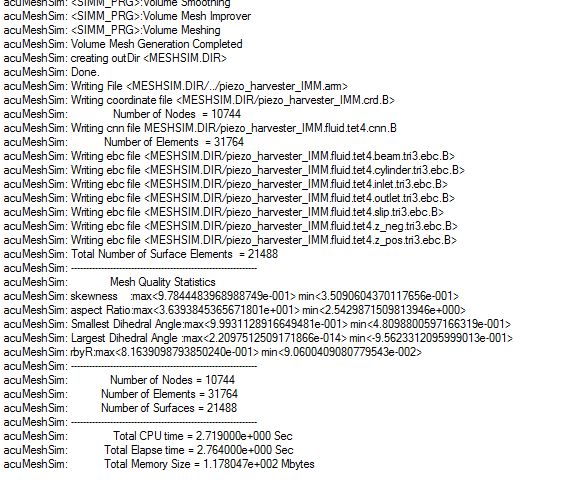
In the next steps you will generate the mesh that will be used when computing a solution for the problem.
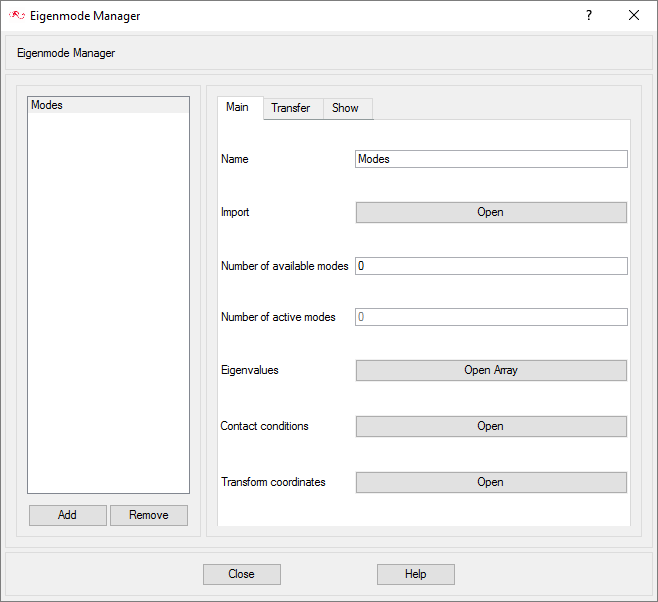
Import Structural Model Information
Compute the Solution and Review the Results
Run AcuSolve
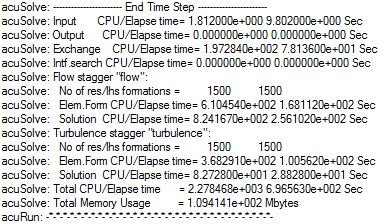
In the next steps you will run AcuSolve to compute the solution for this case.
Post-Process with AcuProbe
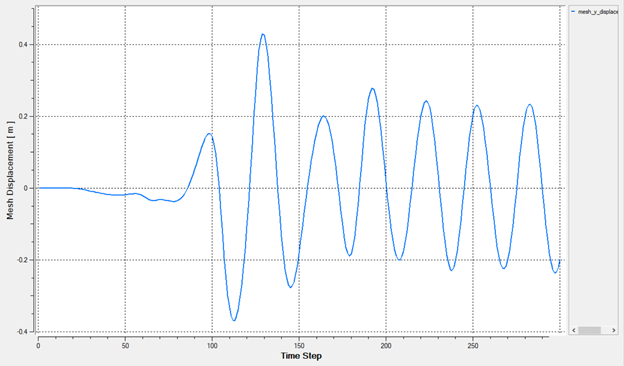
AcuProbe can be used to monitor various variables over solution time.
Post-Process with AcuFieldView
- How to find the data readers in the File menu and open up the desired reader panel for data input.
- How to find the visualization panels either from the Side toolbar or the Visualization panel on the Main menu to create and modify surfaces in AcuFieldView.
- How to move the data around the modeling window using
mouse actions to translate, rotate and zoom in to the data.
This tutorial shows you how to work with steady state analysis data.
Start AcuFieldView
Set Up AcuFieldView
Visualize and Save an Animation of the Beam Displacement
Summary
In this AcuSolve tutorial you successfully set up and solved an FSI problem, using the Practical-FSI, or P-FSI approach. The modal analysis of the structure (beam) is first done in a structural solver and the results of this modal analysis in the form of a .op2 file are used to represent the structure in AcuSolve. The .op2 file provides the necessary information, such as the mass, stiffness and damping characteristics of the solid body, to AcuSolve. This information, along with the flow field information generated by AcuSolve, is used to calculate the displacement of the beam as it interacts with the flow. You started the tutorial by creating a database in AcuConsole, importing and meshing the fluid portion geometry, and setting up the basic simulation parameters. Then you set up a flexible body to represent the beam, and generated a solution with AcuSolve. Results were post-processed in AcuFieldView where you generated an animation of the beam’s displacement as it interacts with the fluid flow. New features that were introduced in this tutorial include: setting up a Practical FSI simulation (P-FSI) using Interpolated Mesh Motion (IMM), and using Eigenmode Manager in AcuConsole for transferring structural data onto a CFD mesh.
