MF-SWIFT/MF-Tyre Integration with MotionView
-
From the Model menu, select Assembly Wizard.
Figure 1.
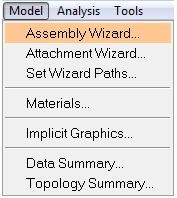 The first page of the Assembly Wizard dialog is displayed.
 -
From the Model Type dialog (Page 1), select the Full
vehicle option and click Next.
Figure 2.
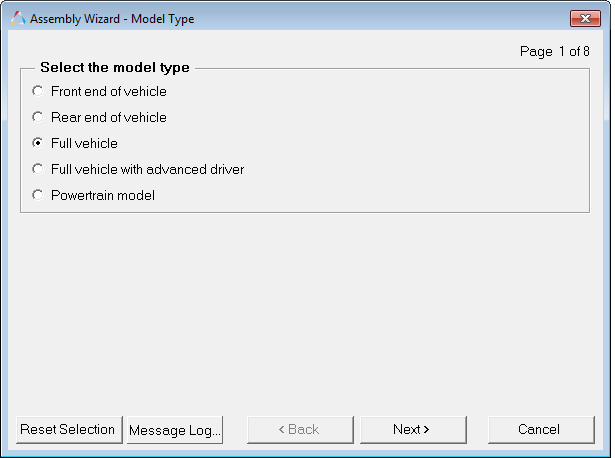 The second page of the Assembly Wizard dialog is displayed.
 -
From the Driveline Configuration for Full vehicle Model dialog (Page 2), select
either the Front wheel drive, Rear wheel
drive, or Four wheel drive option and
click Next.
Note: Selecting No driveline is not a valid option.Figure 3.
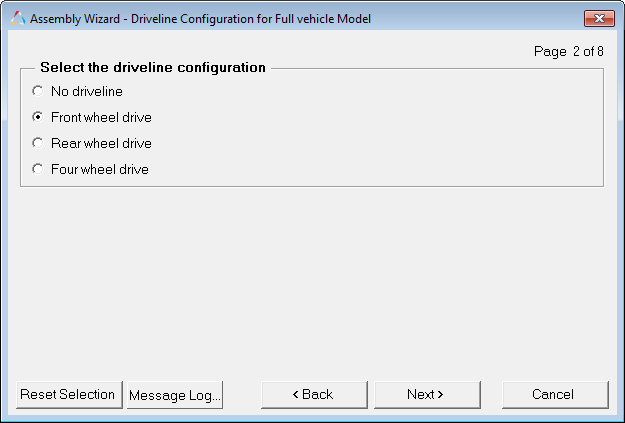 The third page of the Assembly Wizard dialog is displayed.
 -
From the Primary systems selection dialog (Page 3), use the Tires drop-down
menu (located near the bottom) to change from the current default selection
FIALA/HTIRE to MF/Swift Tire and click Next.
Note: All of the other systems should remain in their default selection state, since we only interested in the options available under Tires for this example.Figure 4.
 The fourth page of the Assembly Wizard dialog is displayed.
 -
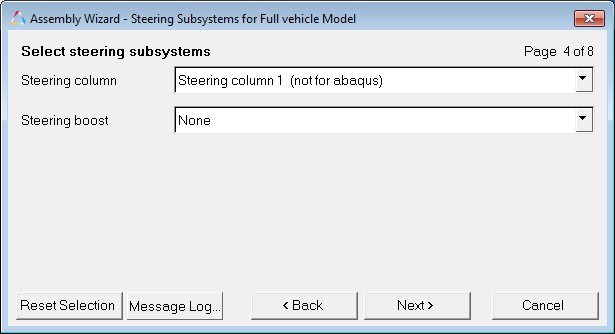
From the Steering Subsystems dialog, use the default selections and click
Next.
Figure 5.
 The fifth page of the Assembly Wizard dialog is displayed.
 -
From the Springs, Dampers and Stabars selection dialog, use the default
selections and click Next.
Figure 6.
 The sixth page of the Assembly Wizard dialog is displayed.
 -
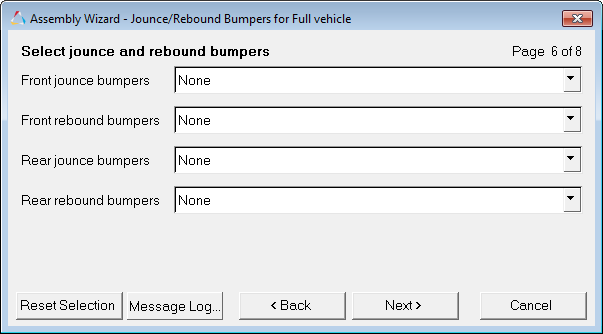
From the Jounce/Rebound Bumpers selection dialog, use the default selections
and click Next.
Figure 7.
 The seventh page of the Assembly Wizard dialog is displayed.
 -
From the Driveline Systems selection dialog, use the default selection and
click Next.
Figure 8.
 The eighth page of the Assembly Wizard dialog is displayed.
 -
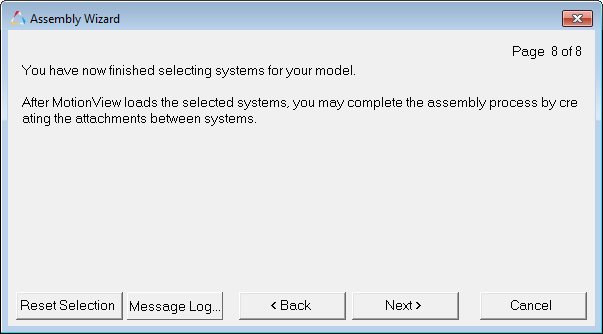
On the final page of the Assembly Wizard dialog, a message will appear
informing you that "You have now finished selecting systems for your model".
Click Next to confirm.
Figure 9.
 The first page of the Attachment Wizard dialog is displayed.
 -
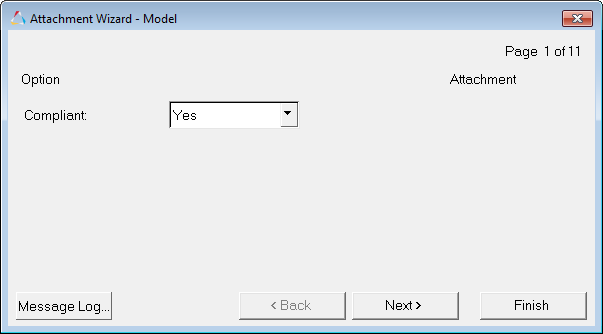
From the Attachment Wizard - Model selection dialog, click
Finish to create your assembly.
Figure 10.
 You have now successfully completed building a full vehicle model which includes the MF/Swift tire system definition (see the example model below):Figure 11.
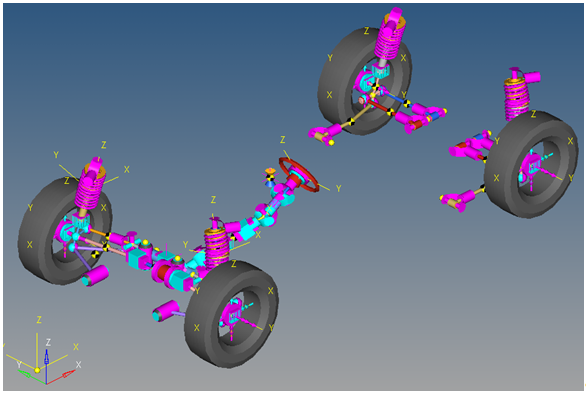
MF-SWIFT Tire DataSet Options
The steps necessary to access the DataSet are described below:
-
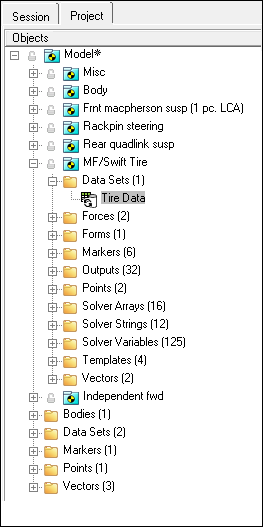
After adding the full vehicle assembly, as described previously, select the
Tire Data DataSet (located under the MF/Swift Tire system) in the Project
Browser:
Figure 12.
 The DataSet panel is automatically displayed.
 -
From the DataSet panel, click the expansion button
 (located on the right side of the panel) in order
to display the Dataset Property Data dialog.
Figure 13.
(located on the right side of the panel) in order
to display the Dataset Property Data dialog.
Figure 13.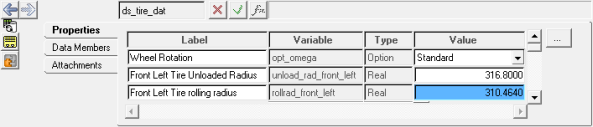
-
Using the DataSet, you can set the following for each of the four tires:
- Tire unloaded radius
- Tire rolling radius
- Tire property file
- Road property file
Figure 14.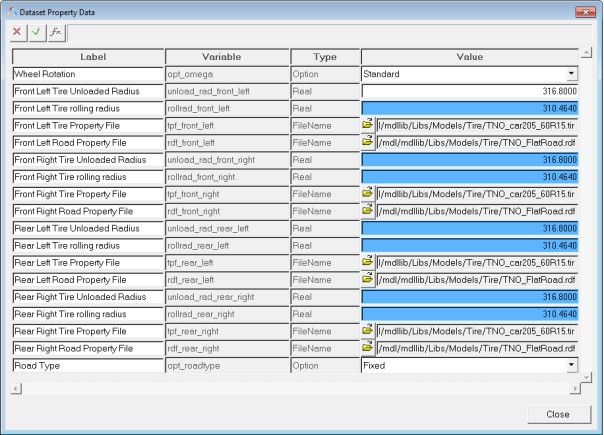 You can also select the type of road to be used, either Fixed or Moving.Note: Currently only the Fixed road type is supported in MotionSolve.