Building a Full Vehicle Model with Advanced Drivers
Next we will go step by step from one window to another and explain the available options in each window to have a better understanding of the Assembly Wizard’s Full Truck with Advanced Driver model type.
-
Select the Front wheel drive option for the model and click
Next.

Figure 1. -
Select the primary systems for the model as shown in the following image and
click Next.

Figure 2. -
Select the steering subsystems for the model as shown in the following image
and click Next.

Figure 3. -
Select the springs, dampers, and stabars for the model as shown in the
following image and click Next.

Figure 4. -
Select the jounce and rebound bumpers for the model as shown in the following
image and click Next.

Figure 5. -
Select the disk brakes and front drivelines for the model as shown in the
following image and click Next.

Figure 6. -
Now, select the Advanced Driver system and click
Next.

Figure 7.Note: The Advanced Driver is now included as a system. -
Now that you have selected all the required systems for the model, click the
Finish button to complete the assembly process and
exit the Assembly Wizard.

Figure 8.Note: Click Attachments button to proceed with the Attachment Wizard. -
The Full Truck with Advanced Driver model built through the Assembly Wizard is
displayed in the graphics area.
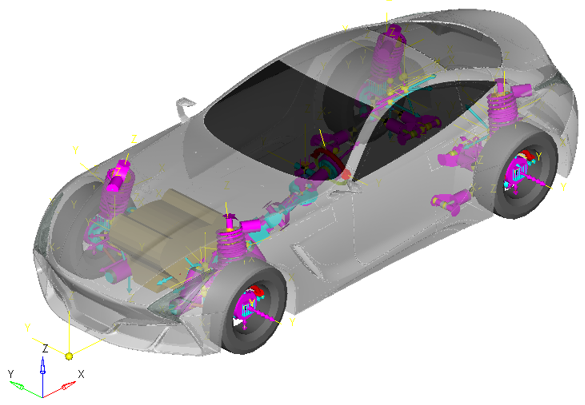
Figure 9.