Compose-1000: Authoring OML in Compose
- Edit, execute, and save files.
- Plot and manage screen space.
- Use the Project Browser to manage files and save the project.
- Make our own OML script.
Launch Compose
Enter and Execute a Command
-
Press ENTER on the keyboard.
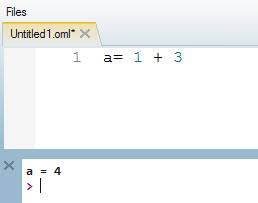
This command results in
This is a tutorialbeing displayed in the OML Command window.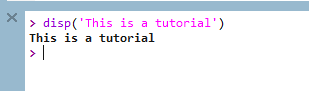
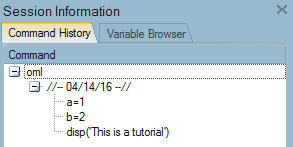
In the Command History window, there is now a reference to the command that was just entered. This reference includes the date the command was entered along with the command itself.
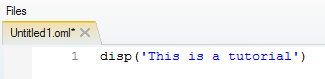
Drag a Command from the Command History Window into the Editor Window
-
Press ENTER on the keyboard to add an additional line to
the script in Untitled1.oml.
-
Click Run File (Start)
 to execute the commands in
Untitled1.oml.
Notice how the output is displayed to the OML Command Window.
to execute the commands in
Untitled1.oml.
Notice how the output is displayed to the OML Command Window.
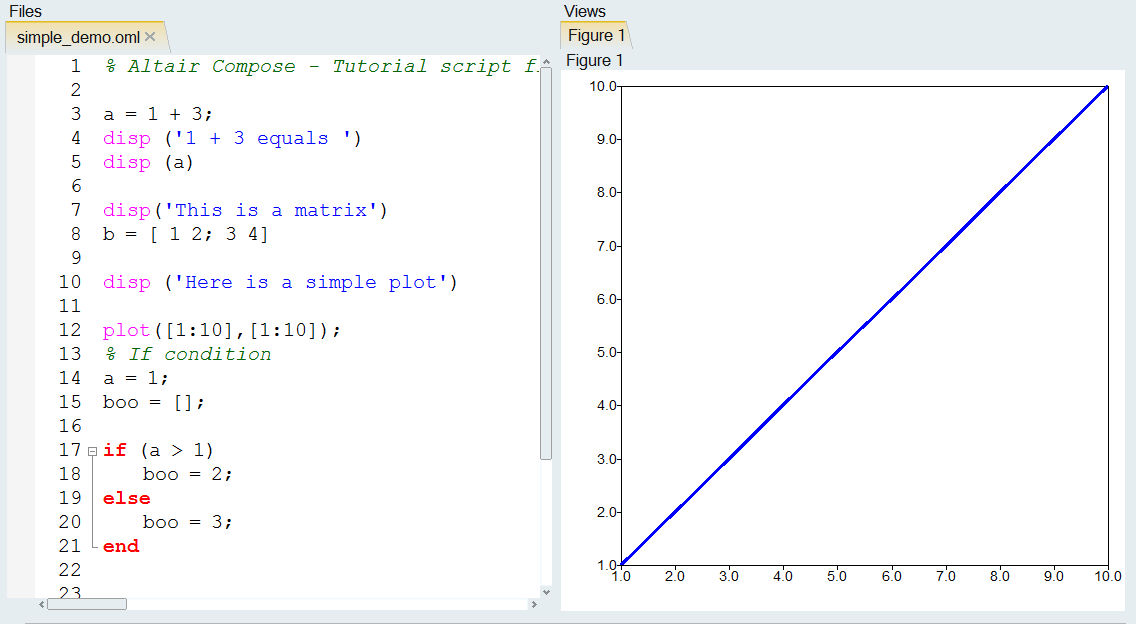
Open and Run a File
-
From File menu, click Open File, or use the
Open File icon,

-
Click Run File, , to execute the file simple_demo.oml.
After the script is run, results are displayed in the Command Window and Plot area.
-
Click the expand icon,
 ,
at the top right corner of the plot pane. The plot pane is lined up with the
title Plots in the top left corner.
,
at the top right corner of the plot pane. The plot pane is lined up with the
title Plots in the top left corner.
The plot pane is expanded to cover the Editor.

-
Similarly, expand the editor by clicking on its expand icon at the top right
corner of the Editor pane. The Editor panel is lined up with the title Files.
The editor is expanded to cover the plot.

Creating an OML Script
-
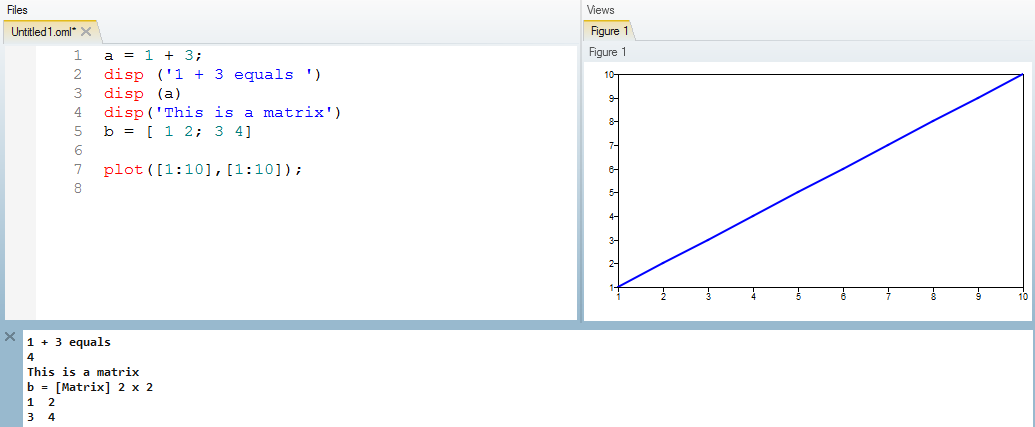
In the Editor window, type a = 1 +
3 and press Run.
If we type a ';' we can suppress this output.
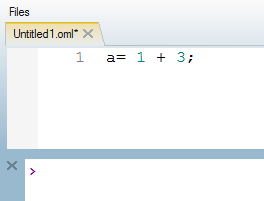
You’ll notice that this time, nothing is displayed in the output yet there is the variable 'a' in the Variable Browser.
-
Press Enter and then add the following two lines to
assign a matrix to '
b' :disp('This is a matrix') b = [ 1 2; 3 4]Without the '
;' the matrix is displayed just like 'a' was. Click Run again. The following is displayed: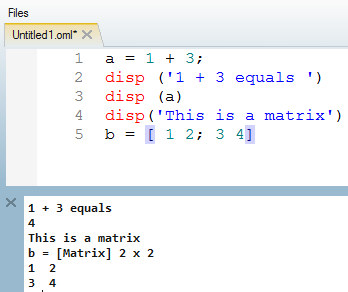
-
To create a simple plot, type plot([1:10],[1:10]); and
click Run.
A linear plot is displayed.
Managing a Project
By default, the Project Browser is displayed in the left pane. This helps you manage matrices, plots, and projects.
-
Right-click and navigate to simple_demo.oml. The
simple_demo.oml file is added to the Project Browser.
-
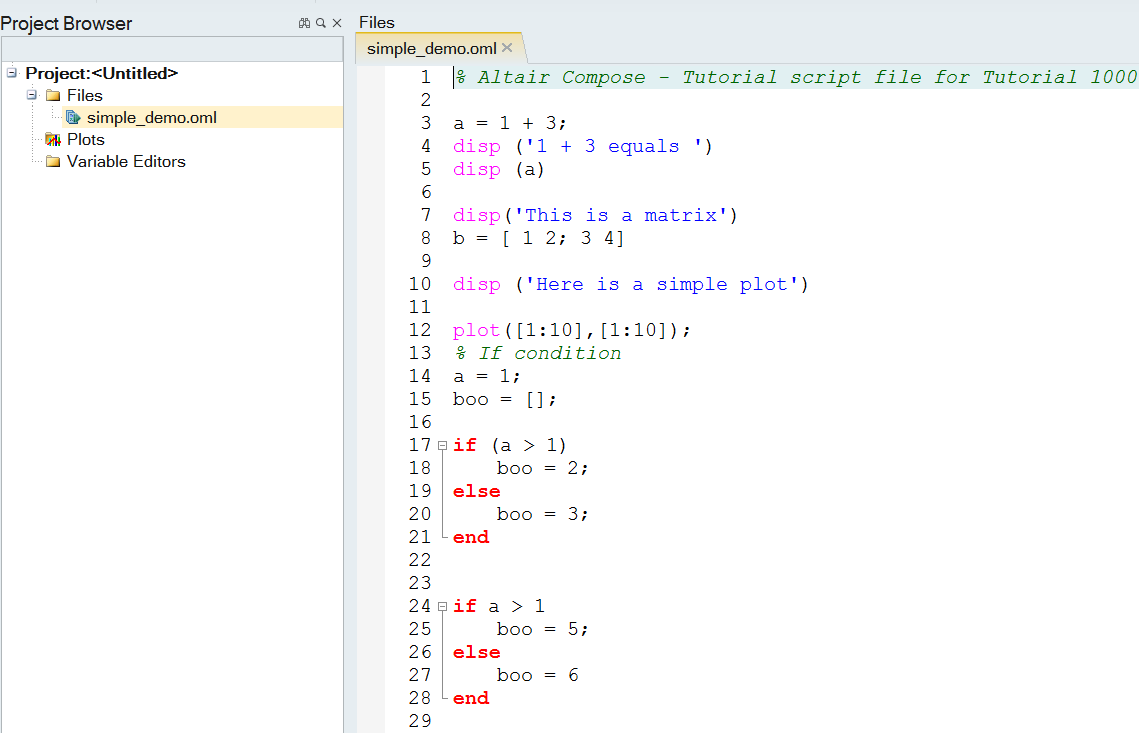
Double-click the OML script to open it in the Editor.
-
Run the file as previously outlined and you’ll notice that the plot
Figure 1 was added to the Plots.
-
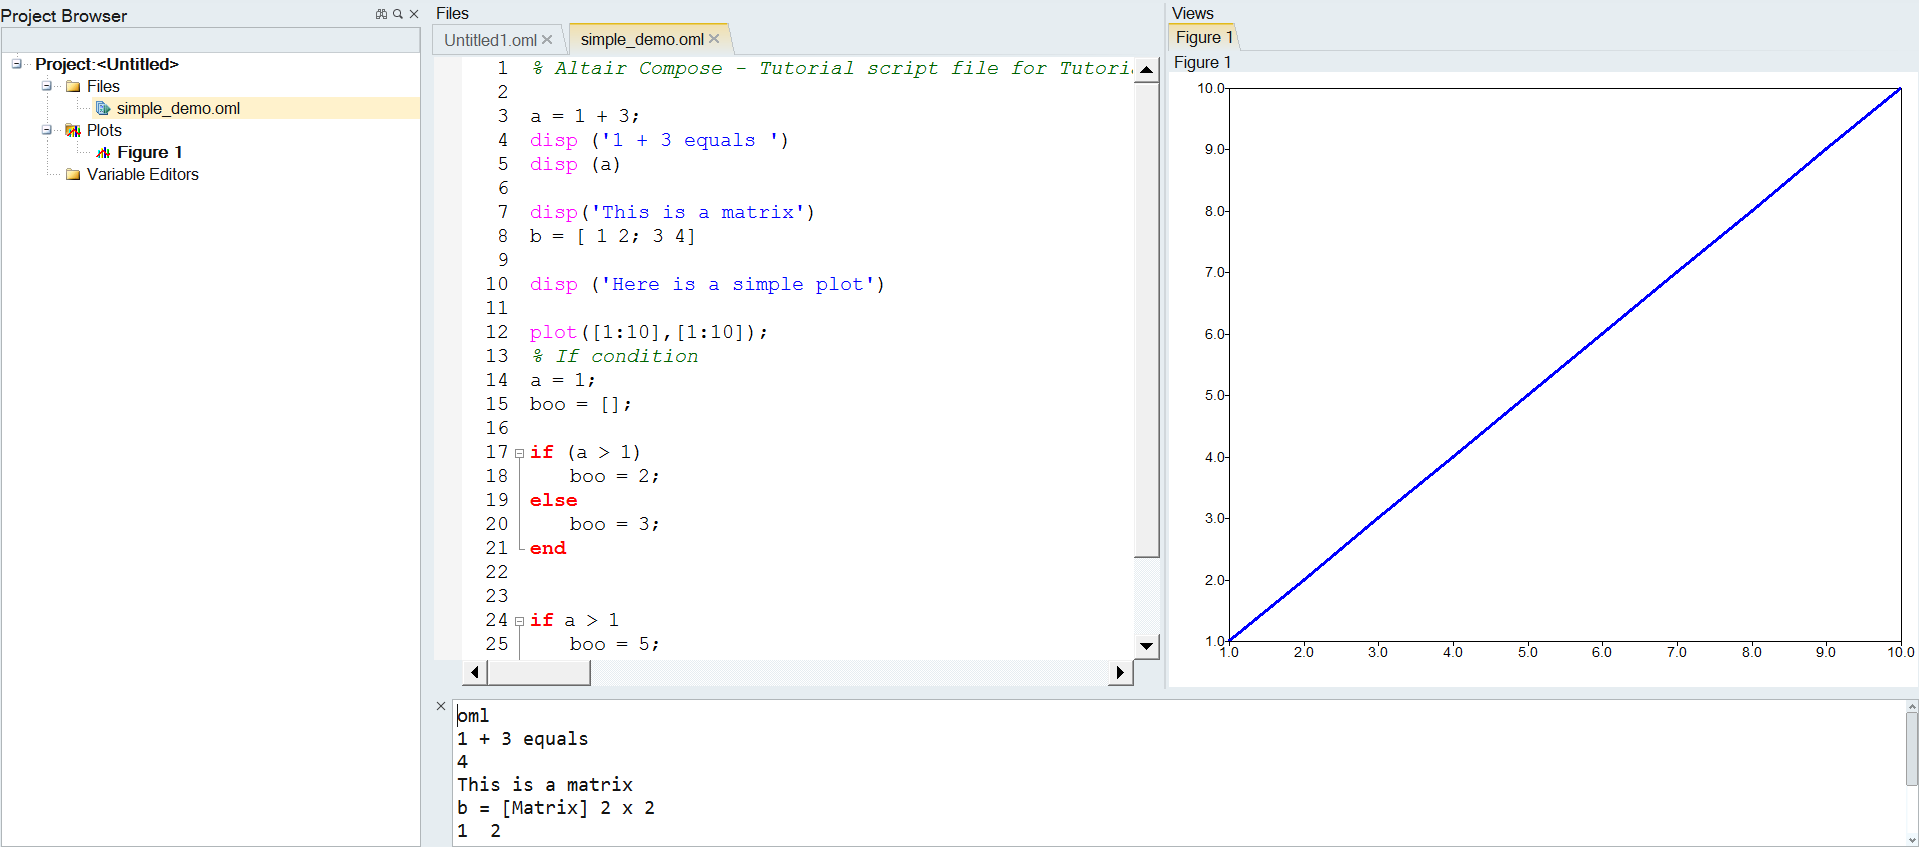
To add the Matrix Editors, navigate to and double-click the matrix variable
bthat we defined earlier. Notice now thatbis added the Matrix Editors and can be modified by the matrix editor tile.